
Do you help your parents care for the family car? One small but important part that needs regular cleaning is the cold air intake filter. This helpful filter stops dirt and gunk from getting into the engine. But over time it can get clogged up too.
In this article, we’ll talk about why keeping your cold air intake filter clean is so important. I’ll also explain step-by-step how to safely clean it yourself using some basic tools. A clean filter means better gas mileage and horsepower and your ride will thank you for that.
Why Should You Clean The Cold Air Intake Filter?
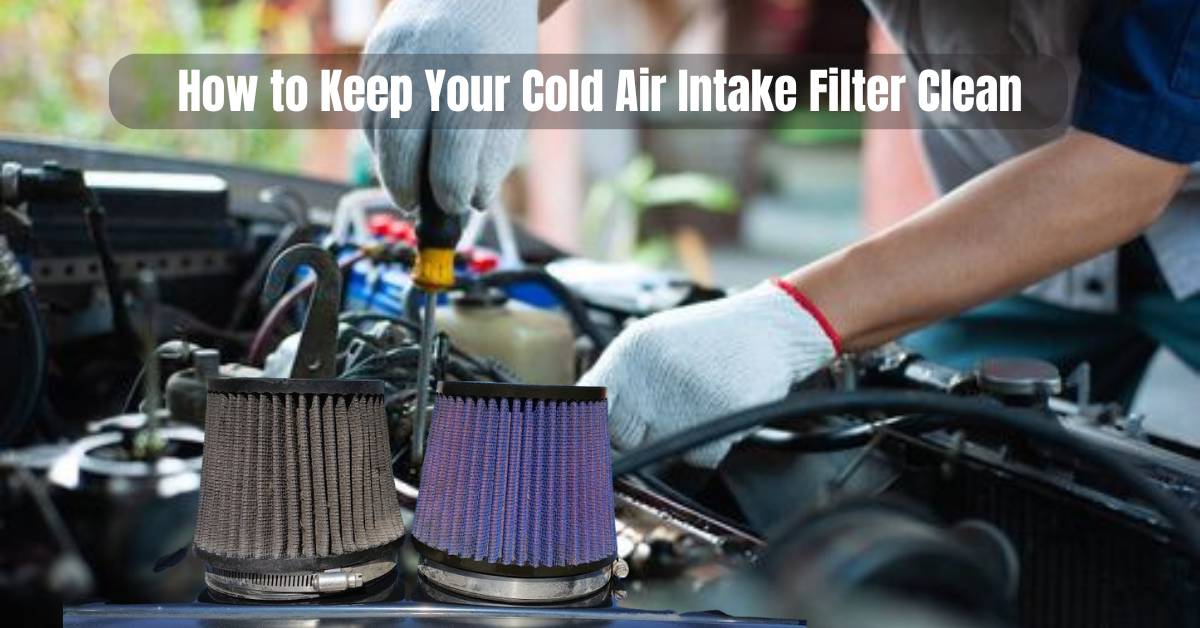
The cold air intake filter’s job is to stop dust and particles from being sucked into the engine through the air intake. But it can’t do its job well if it gets too coated with grime and oily buildup.
When the filter gets clogged:
- Your car wastes gas pushing harder to suck in air
- The engine doesn’t burn fuel properly leading to less power
- The engine parts wear out faster
Cleaning the filter removes all that built-up gunk so air flows freely again. This gives you better gas mileage, and higher horsepower, and extends the life of your engine
How Often Should You Clean It?
A good rule of thumb is to clean the cold air intake filter whenever you get an oil change. Most cars need fresh oil every 5,000-7,000 miles.
Cleaning it about twice a year keeps the filter working like new. If you drive in very dusty areas, cleaning it more often is a smart idea.
What Tools And Supplies Do You Need?
Cleaning your cold air intake filter is a simple project you can do in your driveway. Here’s what you’ll need:
- Cleaner kit or spray designed for air filters
- Low-pressure garden hose with spray nozzle
- Clean rags or paper towels
- Small soft brush (optional)
- Bucket or basin for rinsing
The cleaner kit will include both a special degreaser and oil designed for filters. Make sure to get the right kit for your filter brand and type.
Step-By-Step Guide To Cleaning The Filter
Follow these simple steps to clean and re-oil your cold air intake filter like a pro:
Remove the Filter from the Vehicle
First, open the hood and locate the filter housing. Loosen the clamp and detach any hoses. Then carefully pull the filter out.
Clean Off Debris
Use the soft brush or gently tap the filter to remove any loose dirt or bugs before applying cleaner. This prevents abrasion.
Apply the Degreasing Cleaner
Spray or soak the filter with a cleaner. Make sure it saturates the pleats fully. Let it soak for 5-10 minutes to work in.
Rinse Thoroughly
Rinse the filter for a few minutes with the garden hose on low pressure. Separate the pleats with your fingers to remove all the cleaner.
Let the Filter Dry
Shake off excess water and allow the filter to air dry for at least 30 minutes. Overnight is best if possible.
Oil the Filter
Use the included oil and applicator to lightly coat the entire filter. This protects against future dirt buildup.
Inspect and Reinstall
Check for any missed spots and touch up with oil if needed. Once dry, remount the clean filter back in the housing. And you’re all done. See, keeping that intake filter clean is easy. Your ride will run great thanks to your filter care.
Keep Your Engine Breathing Easy
Cleaning your cold air intake filter regularly keeps your car engine running smoothly and lasting longer and avoids running after insurance claims. Don’t let the filter get clogged and choke your ride’s performance.
Keep your filter clean and oiled so your vehicle’s engine can breathe easily. Your car and parents will thank you.